Broken Screen Backup
I had an unfortunate accident today - I dropped my phone, it landed face down on a metal peg at the gym, and the screen broke. Unfortunately, the digitizer broke too, so I can’t use the touchscreen at all.

Sprint ordered me a replacement, (for a fee, of course - I didn’t have insurance) but now I needed to figure out how to get all my data off of the broken device. I had all my contacts and photos automatically backed up to the cloud, so I was in a far better place than many, but I still wanted all of my apps, settings, texts, and miscellaneous documents moved onto the new device; I needed a nandroid backup.
I thought I was a good user: I had TWRP installed, and I created backups fairly regularly - or so I thought. In reality, I hadn’t created a backup since last December.
My first thought was to simply connect the phone to my computer, and copy the files using windows explorer, but with the phone locked, no files appear in windows explorer, and I couldn’t unlock the phone with my screen broken!
I could pull the SD card out, and copy everything off of it to my computer, but I still didn’t have a current backup of the internal storage. Remember, because of the broken screen, my only interaction with the phone could be through the physical buttons, and through the PC.
Next idea: use ADB to grab everything off the device - I left USB debugging enabled, right?

Nope.
I was feeling pretty hopeless now. I didn’t have a current backup, and I didn’t have a good way to create one, because in TWRP (at least in the version I had installed) I couldn’t use the volume buttons to navigate through the menus. However, I could use ADB + TWRP to create a new nandroid backup. Here’s how:
How to Create a Nandroid Backup on a Device with a Broken Screen Using TWRP (A Brief Guide)
-
Have a rooted device with TWRP installed. If your device isn’t rooted, you can root it now from your PC, and install TWRP. Neither of those operations should require you to use your device’s screen, but are often device specific, so I won’t go into any more detail here. There are tons of great guides on rooting out there - search around and you’re almost sure to find one for your device.
-
Install Android Debug Bridge, (ADB) or the entire android SDK on your PC, along with your phone’s USB drivers.
Here is a popular tool which installs ADB for Windows machines, and here’s a great intro to ADB from How-To Geek, if you’re unfamiliar with it. Now, we’re all set to get started with the recovery process. -
First, we need to plug the device into the PC, and reboot the device into TWRP. We can’t use the screen, (or an adb reboot recovery command - USB debugging is not enabled) so we’ll have to pop the battery out to turn the device off. Now, put the battery back in, and boot into TWRP. On my Note 4, that means holding the home, lock, and volume up buttons at the same time. If that combination drops you into download mode, or something else that isn’t TWRP, remove and replace the battery again, then try home, lock, and volume down.
-
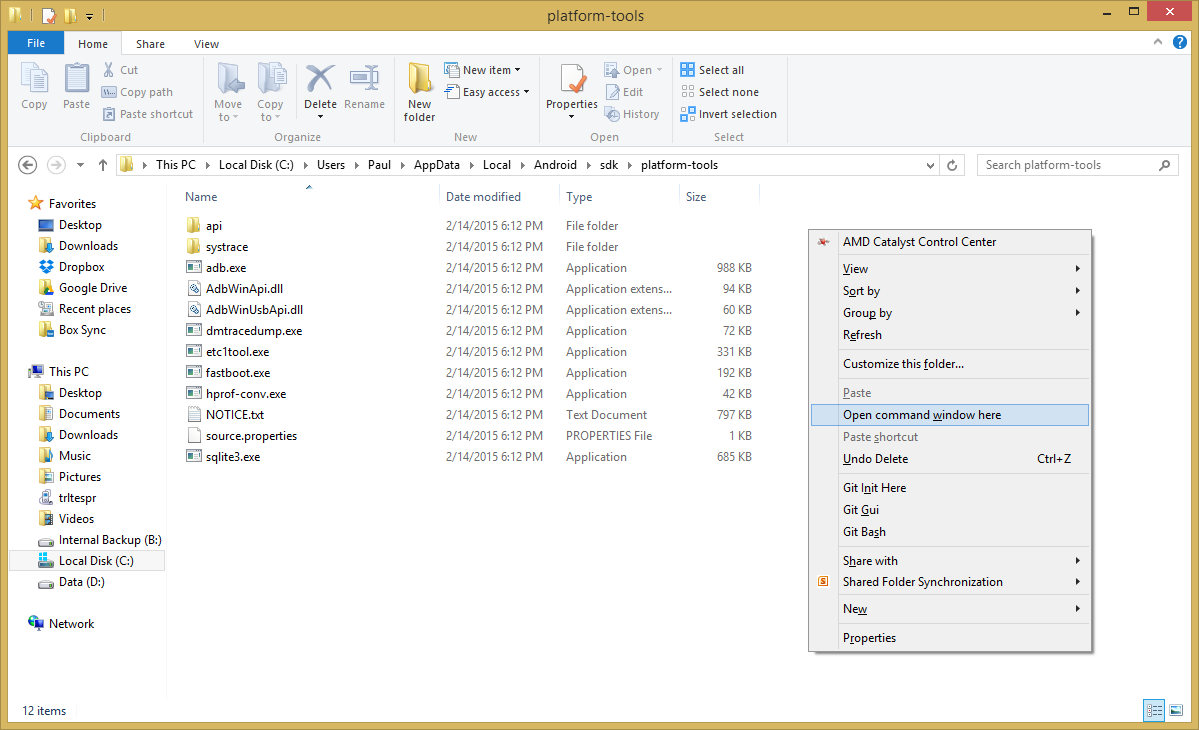
Open a command prompt in the folder containing ADB. For me, using the latest version (1.2.2) of the Android SDK with default installation settings, that folder is C:\Users\Paul\AppData\Local\Android\sdk\platform-tools, but it might be different for you. (Obviously, you’ll have to change the username in that path to your username.) Hold down Shift, and right click in the folder containing ADB to get the option to open a command prompt in the current folder. Click on that option (shown below).
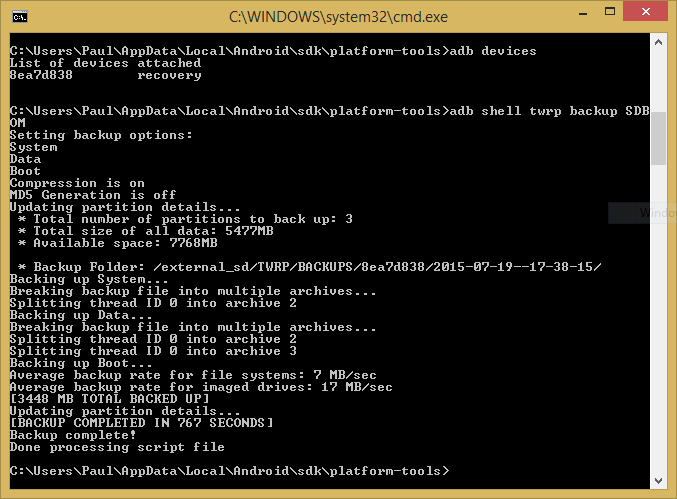
- Now, we need to check if device is actually connected! Type in
adb devices
and make sure that your device shows up as “recovery” in the list of devices, as shown below.

- OK, so now for the magical bit. Run the command
adb shell twrp backup SDBOM
to create a backup of the system, data, and boot directories, with compression enabled, and no MD5 generation used, as shown in the next image. There doesn’t seem to be much (read: any) official documentation of this feature, but the command’s arguments are parsed by the function
int OpenRecoveryScript::Backup_Command(string Options)
in this file from the TWRP source, so you can figure out
what options your version of TWRP uses there, if you know your way around some C++ code. For most people, the command given above will be sufficient.
This article from Pocketables.com is the only reference I found which even acknowledges
the existence of this feature; it may be helpful too.
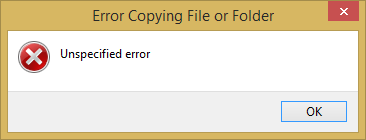
- Now we have to get the backup off of the device. You may be able to simply copy it to your PC using windows explorer, but I got the unhelpful error below when I tried a basic copy operation.
I created my backup on my SD card, so I was able to remove the card, plug it into my computer, and copy the files from there. If you don’t have an SD card, you’ll need to use an ADB pull command to grab the backup, but the discussion of how to do that will have to wait for another day…